Are you looking for an innovative way to keep your oil tank clean and its filters in top condition? Look no further! In this guide, you’ll learn everything you need to know about maintaining the performance of your oil tank’s filters. We’ll cover how to change them, clean them, and even provide some tips on how to extend the life of your filters. Don’t get stuck with dirty filters—let this ultimate oil tank filter guide help you out!
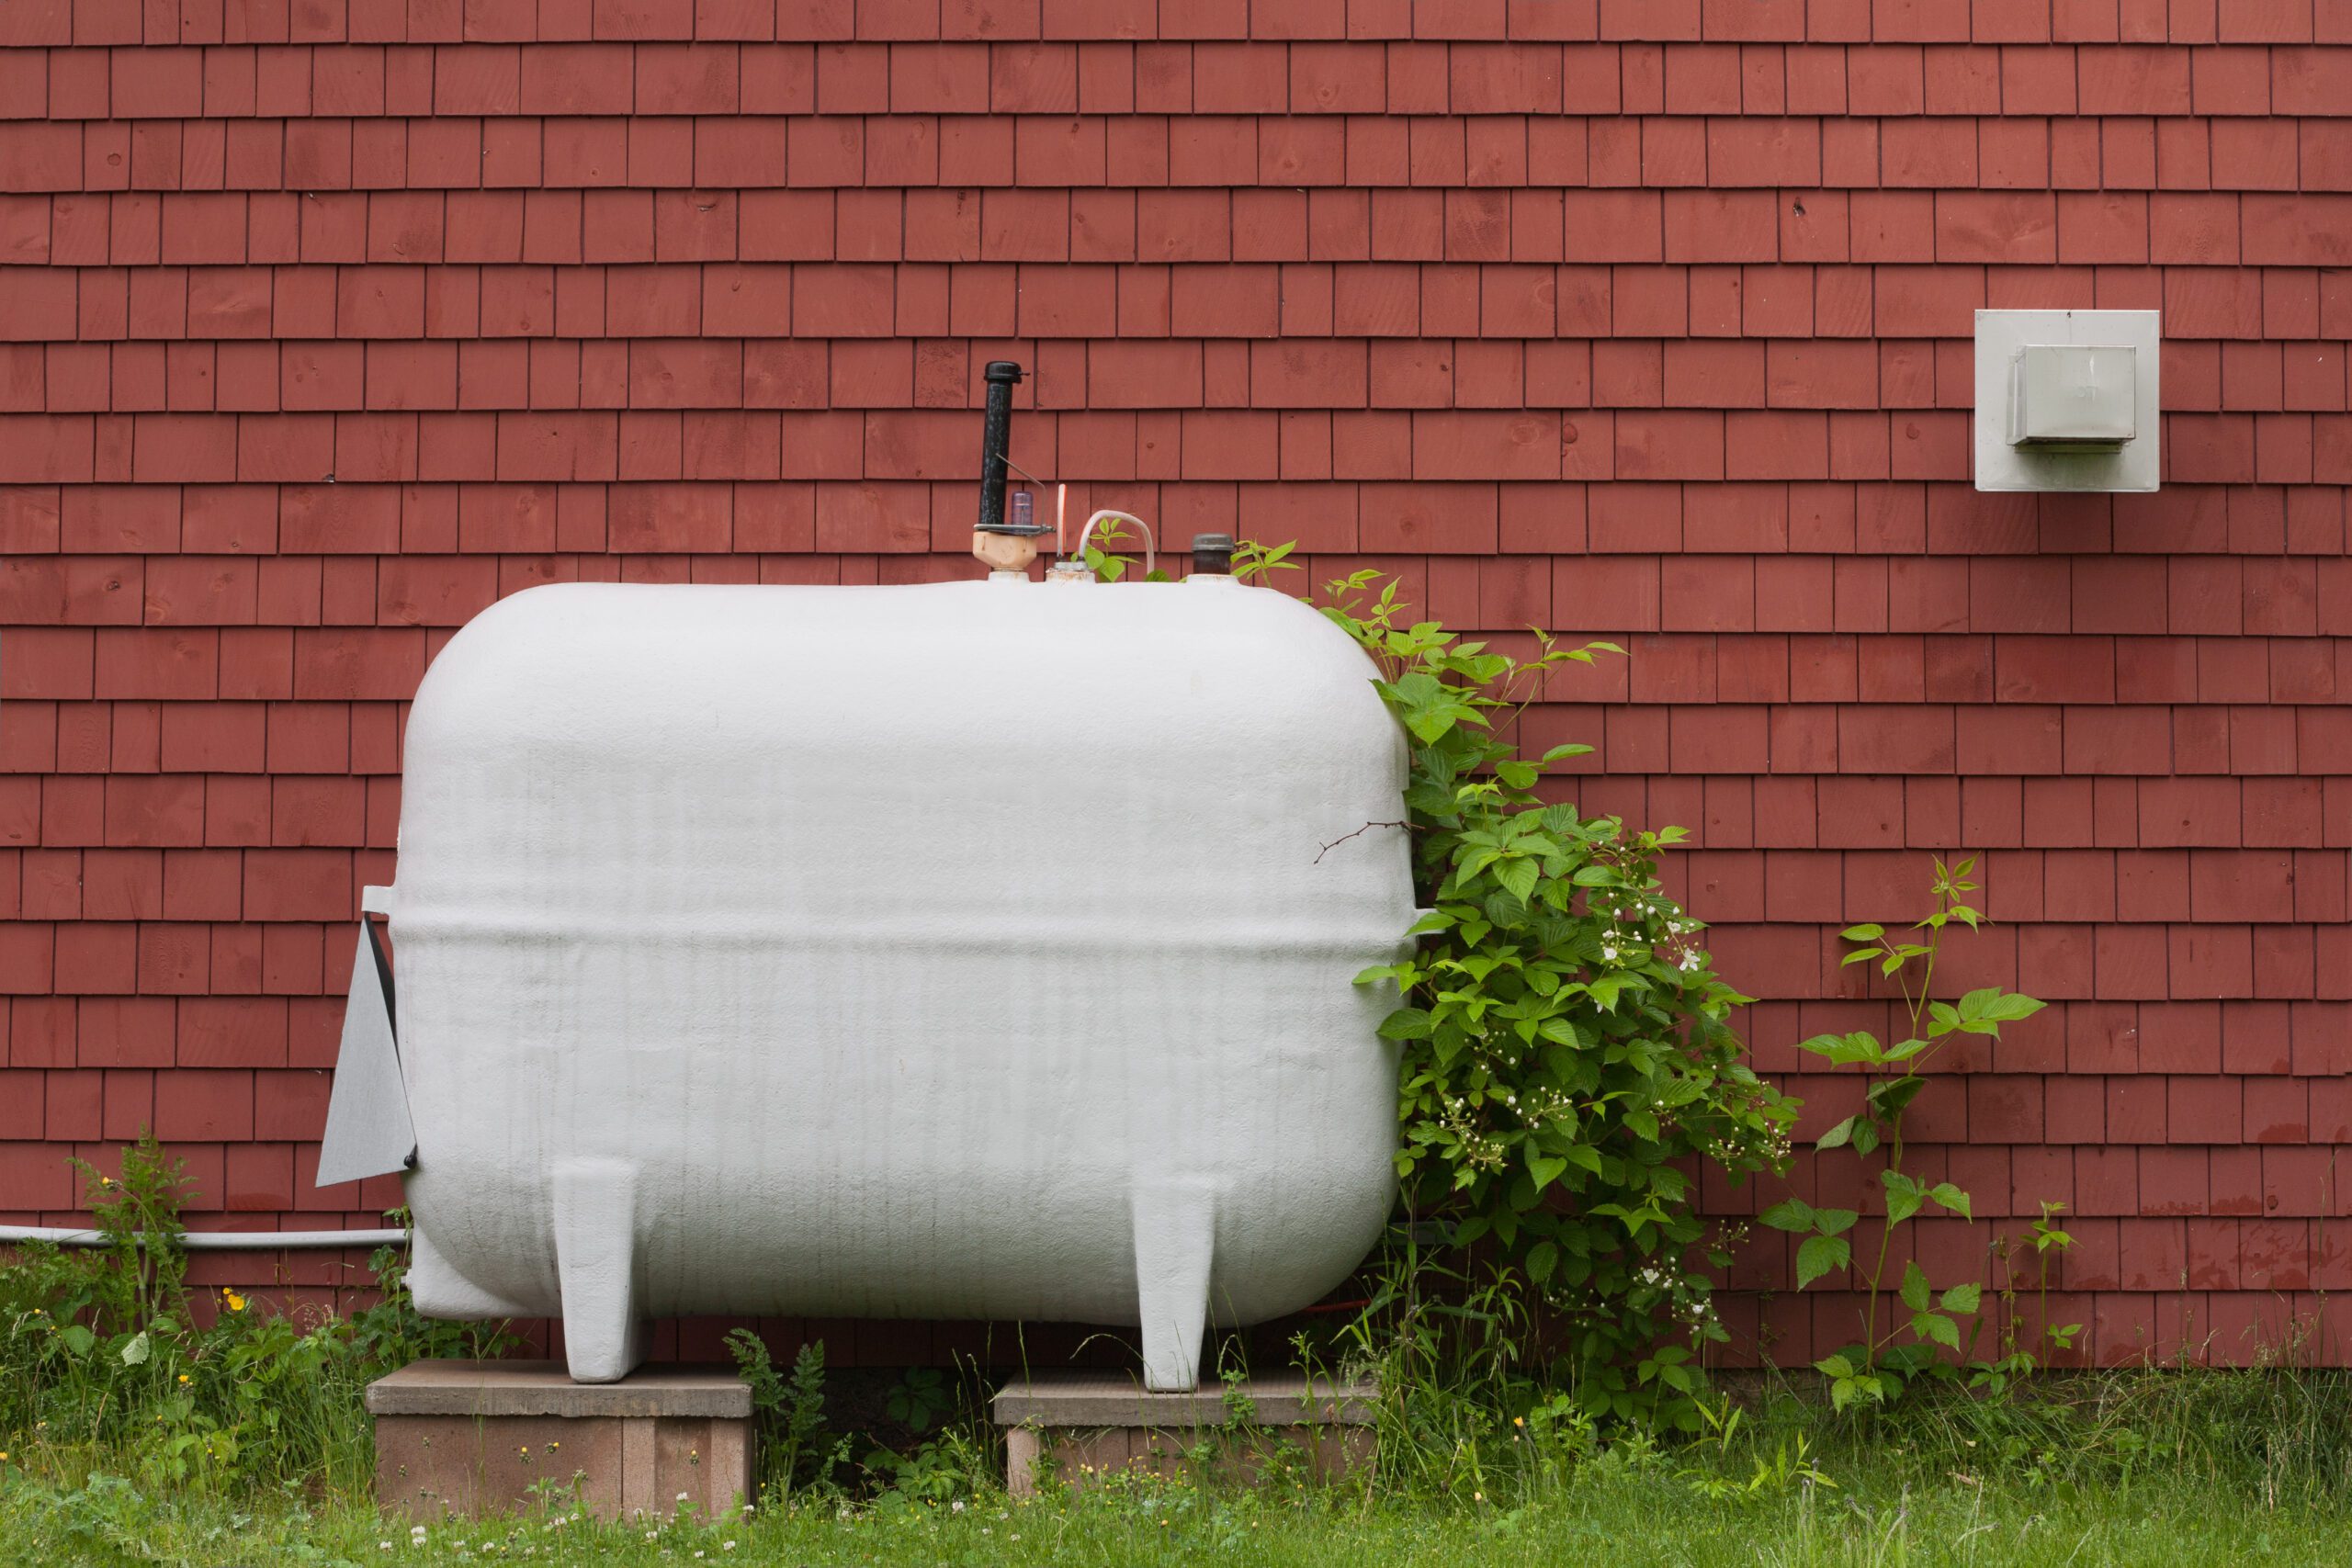
Maintaining and having your oil tank regularly serviced is crucial to the lifespan of your oil tank system.
Regular oil tank filter maintenance is crucial for ensuring the efficiency and longevity of your oil tank system. Ignoring or neglecting this important task can lead to a host of issues that can be costly to repair and inconvenient to deal with.
One of the main reasons why regular oil tank filter maintenance is important is because it prevents the accumulation of dirt, debris, and sludge in your filters. Over time, these particles can clog the filters and restrict the flow of oil, causing your heating system to work harder and consume more energy, resulting in higher energy bills. By regularly cleaning or replacing your oil tank filters, you can ensure that your system is operating at its optimal level and prevent unnecessary strain on your heating system.
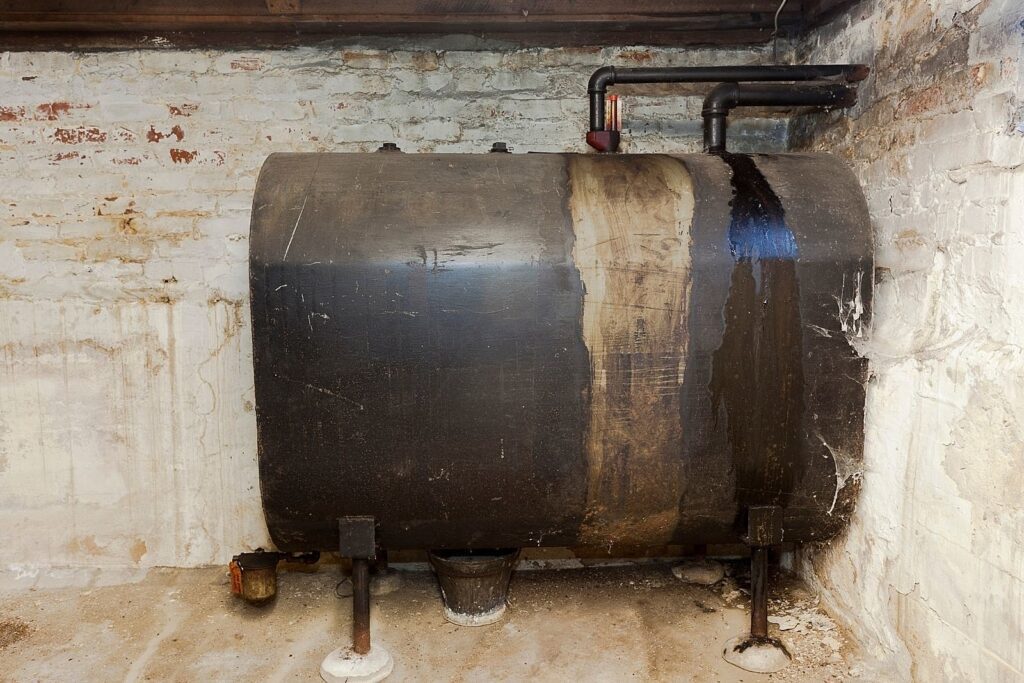
Another reason why regular oil tank filter maintenance is important is for prevention. Dirty filters can also lead to a buildup of contaminants in your overall system, which can ultimately damage the tank and its components. This obstruction can lead to leaks, malfunctions, and even potential environmental hazards. By regularly maintaining your oil tank filters, you can prevent these issues from occurring.
Finally, regular oil tank filter maintenance is also an educational opportunity. By getting into the habit of checking and cleaning or replacing your filters, you become more familiar with the inner workings of your oil tank system. This knowledge can help you identify any potential issues or abnormalities early on, allowing you to seek the necessary repairs or professional assistance before the situation worsens.
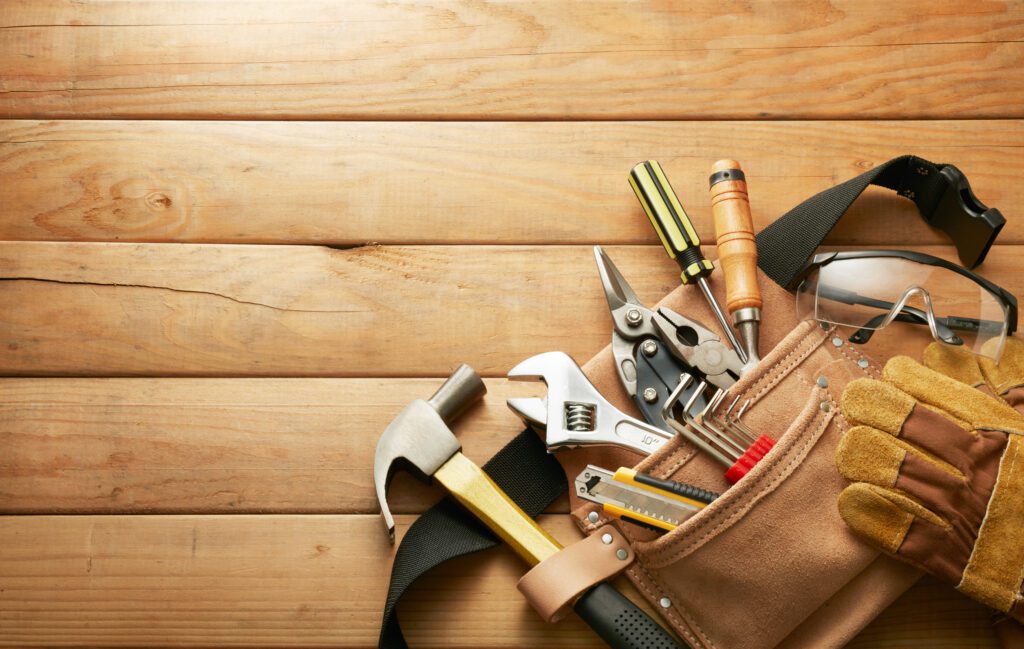
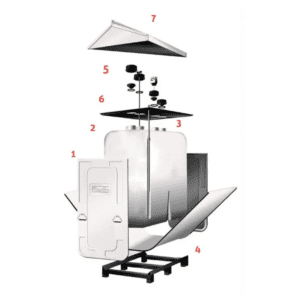
Ensuring you have the proper tools to change and clean your oil tank filter is essential to keeping your system in tac.
When it comes to changing and cleaning your oil tank filter, having the right tools can make all the difference. While the specific tools needed may vary depending on your specific oil tank system, there are some essential items that you’ll need to have on hand:
If you’re unsure about the specific tools needed for your oil tank system, it’s always best to consult a professional or an expert in the field.

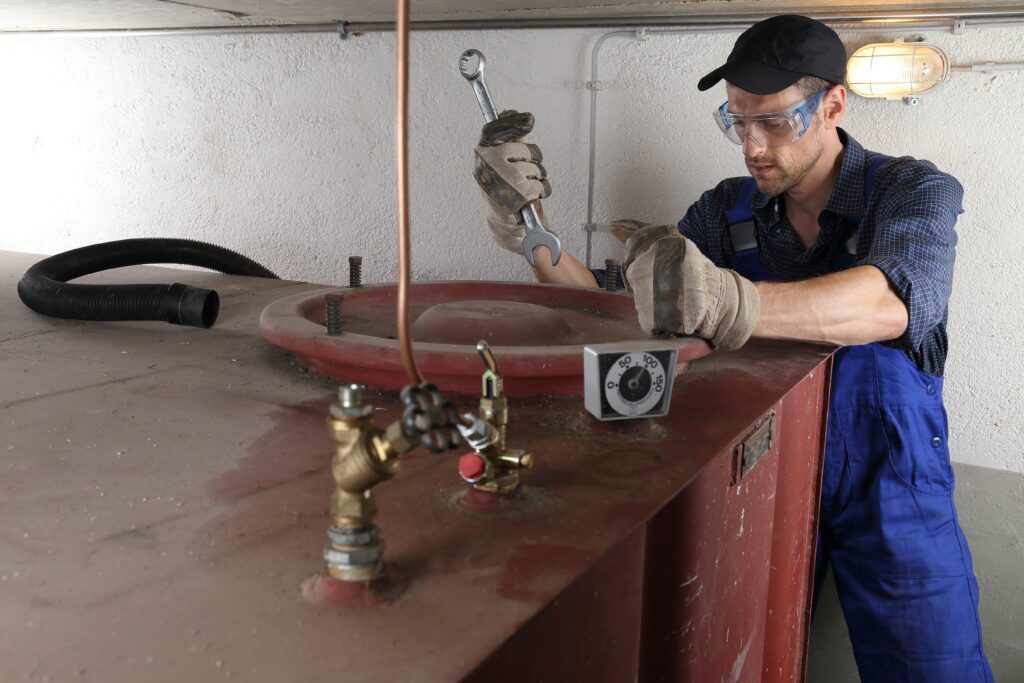
It is important to know that changing your oil tank filter is an easy process that can be done by anyone as long as they have the proper tools and knowledge.
Changing your oil tank filter is a relatively simple process that can be done by anyone with a little guidance and the right tools (see above). Here’s a step-by-step guide to help you get started:
Remember, if you’re unsure about any step or encounter any difficulties, it’s always best to consult an expert or a professional from Valiant Energy Solutions.
Making sure your oil tank filter is clean is essential in prolonging the longevity of the filter.
Now that you know how to change your oil tank filter, it’s time to learn how to clean it. Cleaning your oil tank filter is the key to efficiency:
Cleaning your oil tank filter should be done regularly to maintain its efficiency. By following this step-by-step guide, you can keep your oil tank running smoothly and prevent any potential issues caused by dirty filters.
At Valiant Energy Solutions, we believe that regular oil tank filter maintenance is a service that lasts. By dedicating time and effort to properly maintain your filters, you can extend the lifespan of your oil tank, prevent costly repairs, and ultimately save money on energy bills. Don’t overlook the importance of regular maintenance – let us help you keep your oil tank clean and efficient for years to come. DIY is great, but let us take the guesswork out of the process and save you time and money.
Contact us today to learn more about our services and how we can assist you with your oil tank filter needs.